Ceiling Repair
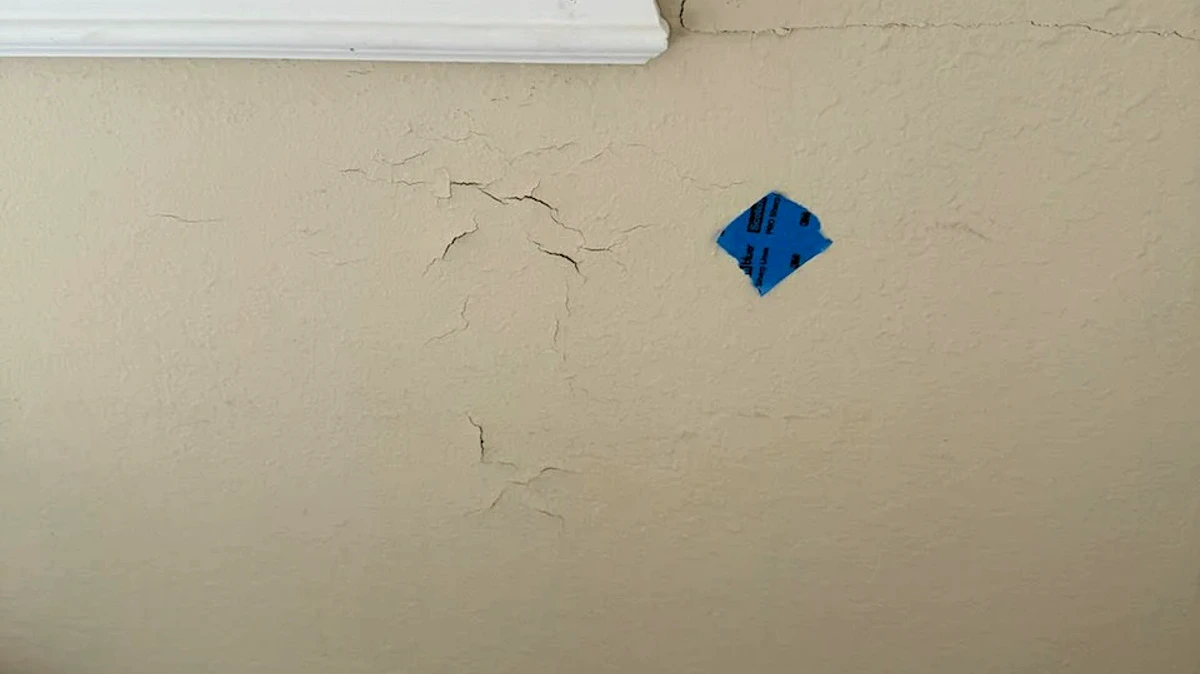
Ceiling Drywall Cracking: How to Know if It Is Cosmetic or Structural
Ceiling Drywall Cracking often turns into a bigger question about how much drywall is actually affected and how clean the final finish can look. This article focuses on overhead repair risk, seam movement, finish visibility, and the steps that keep a ceiling patch from telegraphing through paint.
Quick Answer
Ceiling Drywall Cracking should be judged by firmness, location, texture condition, and whether the issue follows a seam, leak line, or sagging area. A ceiling patch can look obvious even when the damage is small, so overhead repairs usually need wider feathering and stricter finish control than wall repairs.
What Is Really Going On Behind the Surface
ceiling drywall cracking feels more serious than a wall issue because it is overhead and easier to notice from normal room positions. Small ceiling defects often look larger after paint because broad light reflections reveal every shallow hump, seam line, or texture mismatch.
The right approach starts with understanding whether the issue is cosmetic, moisture-related, or tied to movement in the drywall system itself.
When the Existing Surface Can Still Be Saved
A more straightforward repair usually works when the surrounding material is dry, firm, and stable enough to carry new finish material without flexing. That means checking edge condition, surface flatness, texture continuity, and whether the source of the damage has actually been corrected.
- The damaged area is limited and surrounded by sound material.
- The surface feels firm instead of chalky, soft, or hollow.
- The texture and paint can be blended over a practical repair width.
- There is no active moisture issue, sagging, or contamination.
- The finish quality needed matches the condition of the room and surface.
Signs the Damage Needs More Than a Quick Fix
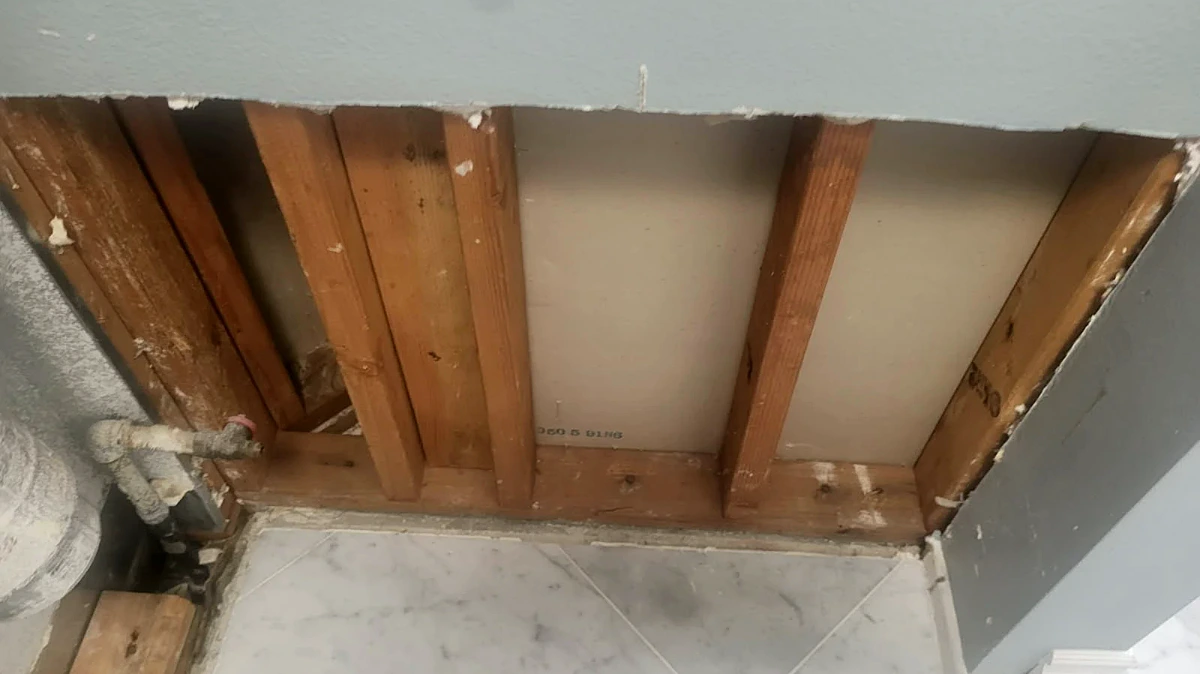
A wider cut-out or partial replacement is usually safer when the visible problem sits on top of weak drywall, broken seams, soft board, or repeated patch failure. Building over unstable material often produces a repair that looks acceptable for a few days and then telegraphs through the finish.
- The drywall feels soft, crumbles at the edges, or flexes under pressure.
- Paint is bubbling, stains keep spreading, or the surface has moisture history.
- The damage crosses a seam, corner, ceiling line, or other high-visibility transition.
- Previous filler or tape has already failed in the same area.
- The room lighting is strong enough that a rushed finish will stay visible.
Why This Type of Problem Happens
- Seasonal movement at seams or framing joints.
- Past leaks from roof, plumbing, or HVAC lines.
- Loose tape, fastener movement, or sagging sections.
- Texture breakdown after repainting or old ceiling damage.
A Practical Homeowner Inspection Checklist
- Measure the full damaged area, not just the clean center.
- Press around the repair zone to confirm the material is firm.
- Check for paint bubbling, cracks, torn paper, or weak seams nearby.
- Note whether the surface is wall or ceiling and whether the texture is smooth, orange peel, or knockdown.
- Confirm the source of the damage is fixed if moisture or movement played a role.
- Take one close photo, one wide photo, and one angled photo that shows texture and finish reflection.
What a Clean Repair Sequence Looks Like
Professional repair starts by protecting the work area and removing anything loose, soft, or weak enough to compromise the finish. If the drywall still has structure, the damaged area is stabilized and patched flush. If it does not, the weak section is cut back to solid material so the repair begins on a reliable base.
After that, seams are taped when needed and compound is applied in multiple thin coats instead of one heavy fill. Each coat feathers wider so the repair blends into the surrounding field rather than leaving a visible mound. Once the shape is right, the surface is sanded, checked in side light, textured if needed, primed, painted, and cleaned up carefully.
How Texture and Light Affect the Final Result
Texture matters because patches usually become visible after paint, not before. Orange peel, knockdown, smooth walls, and ceiling textures all reflect light differently once a repair is finished. If the patch edge is too tight or the surrounding pattern is not studied first, the repaired spot can stay obvious from normal room positions.
For a deeper breakdown of blend width, pattern density, and why lighting changes everything, see our texture matching guide.
Paint Finish Details That Change the Result
Primer prevents flashing by helping fresh compound, patch material, and repaired paper accept paint more evenly. It also keeps stain-blocking needs from being ignored after leaks or older discoloration. Even with a clean patch, touch-up paint may still look different if the surrounding wall has sun fade, sheen changes, or roller texture that was built up over time.
In higher-visibility rooms, a broader paint section usually blends better than a tight box around the repair.
Why Estimates Change From One Repair to Another
The final price changes with damage depth, room access, wall versus ceiling location, texture complexity, paint scope, and whether the repair needs replacement rather than surface correction. The visible mark may be small while the finishing effort is not.
Our repair cost guide explains how those factors change estimate logic without turning the article into a pricing landing page.
Should You Patch It Yourself or Call a Pro?
DIY can be reasonable when the material is sound, the finish is forgiving, and the repair area is small enough to practice on without risking a large visible wall. The biggest DIY problems usually come from overfilling, skipping primer, underestimating texture, or trying to paint too narrow a touch-up zone.
Professional repair becomes more valuable when the area is overhead, textured, moisture-affected, room-dominant, or visually exposed in daylight. If the repair clearly moves beyond a basic patch, the most relevant next step is our Orange ceiling drywall repair page.
What This Looks Like in Orange County Homes
Across Orange County, repairs in living rooms, bathrooms, hallways, kitchen ceilings, and upstairs-to-downstairs ceiling lines are often judged in bright natural light and across repainted surfaces. That means the difference between a passable patch and a truly publish-ready, invisible finish usually comes down to feathering, texture density, primer discipline, and repaint strategy rather than the patch material alone.
FAQ
Can ceiling drywall cracking usually be patched cleanly?
Usually yes, if the surrounding material is dry, firm, and stable enough to support a clean finish. Once the base has lost strength or movement is involved, a wider repair tends to last longer and look better.
When does it need replacement instead of a surface repair?
Replacement becomes the safer choice when the drywall is soft, loose, sagging, contaminated, or repeatedly failing in the same spot. The goal is to rebuild on solid material instead of hiding unstable layers.
Why does the patch still show after painting?
Visible repairs usually come from incomplete feathering, texture mismatch, skipped primer, or paint sheen differences. Lighting often reveals those finish mistakes more than the patch itself.
Can I paint over it right after patching?
Fresh patch material should be fully dry, sanded, dust-free, and primed before finish paint. Skipping those steps is one of the fastest ways to create flashing or a visible patch ring.
What photos help with an estimate?
A close-up photo, a wide room photo, and one angled shot that shows texture and sheen are the most useful. Include rough measurements and note whether moisture or movement caused the damage.
Is this a reasonable DIY repair?
It can be when the area is small, dry, and visually forgiving. The more visible the room, the stronger the texture, or the more unstable the drywall, the more valuable professional finish control becomes.
Need Help With This Type of Repair?
If the damage is beyond a simple surface patch, send a few photos before scheduling so the scope can be matched to the real condition of the wall or ceiling. For hands-on help, visit our ceiling drywall repair page for Orange.